A Full Step-by-Step Guide on Detailing the Inside of a Car
Cleaning the interior of your car is more than just a fast vacuum and wipe. It's a deep clean that makes your cabin look and feel like new again.
This extensive guide breaks down each process in a nice, useful way, whether you're getting ready to sell your car, want to wow your passengers, or just like driving in a spotless automobile.
Even beginners can learn how to do inside automobile detailing with the appropriate method and some time. Let's go over each step of the procedure so you know precisely what to do and how to attain professional-level results at home.
Why it's important to detail the interior?
Most drivers only wash the outside of their cars, but the inside is where dirt, sweat, filth, smells, and wear and tear show up first. A good interior detail not only makes things look better, but it also:
- Increases the value of resale
- Makes things smell better and fresh
- Stops upholstery and trim from getting damaged over time
- Makes driving every day more comfortable
Taking out the trash, vacuuming everything thoroughly, wiping every surface, and returning everything to its original condition are all respectable interior details.
Items and equipment you'll require.

Prepare the following necessary equipment and materials before you begin:
- Robust vacuum with add-ons including a brush head and a crevice tool
- Multiple microfiber towels, ideally in various hues
- An interior-safe cleaning solution
- Gentle vent and seam brushes
- Cleaner for carpets and fabric seats
- Leather conditioner and purifier are necessary if you own leather.
- Glass cleaner for windows and mirrors
- Compressed air for cracks or detailing tools
- Odor remover or air freshener are optional.
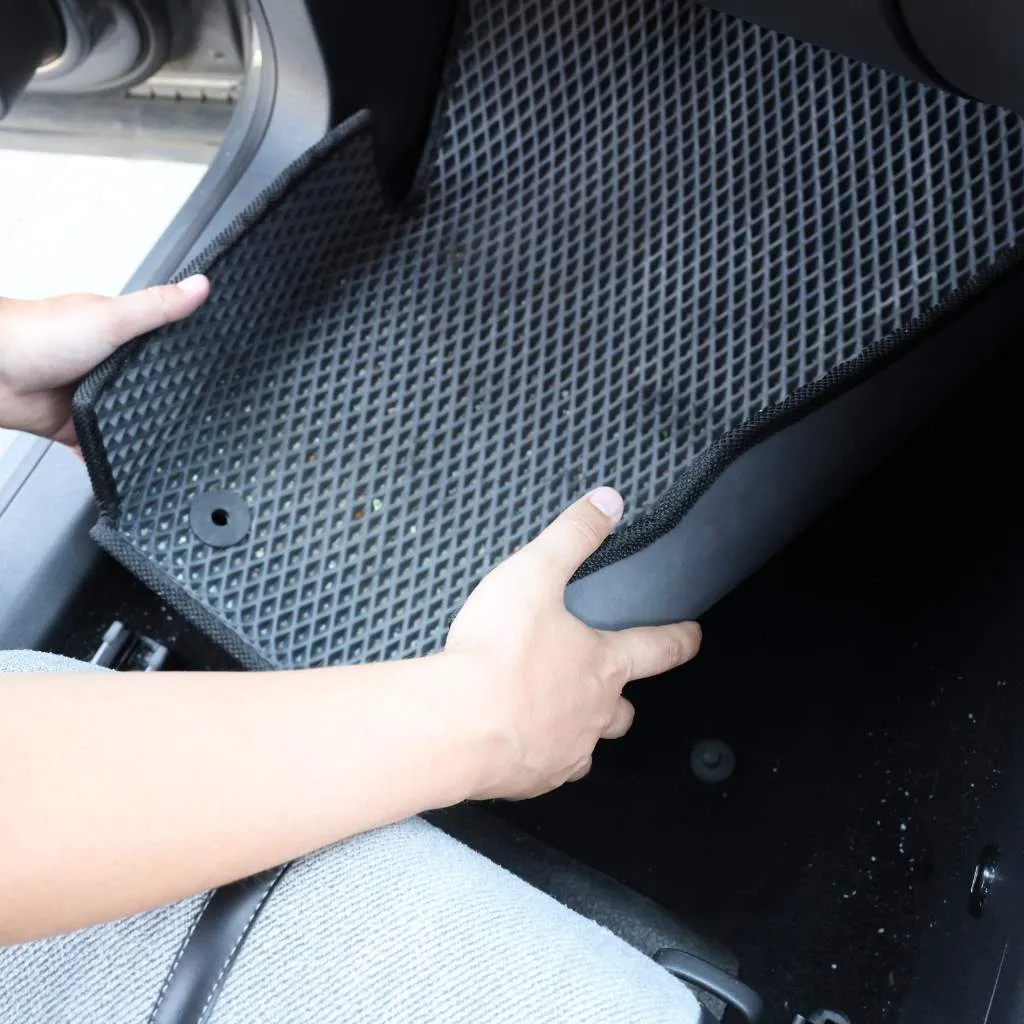
Step 1: Prepare by removing everything.
First, remove all of your personal belongings, trash, floor mats, chargers, and other loose stuff. This creates space for a more thorough cleaning by clearing out debris.
Because mats frequently hold dirt that can spread if they are purified in place, pro detailing instructions emphasize removing removable mats and cleaning each one separately.
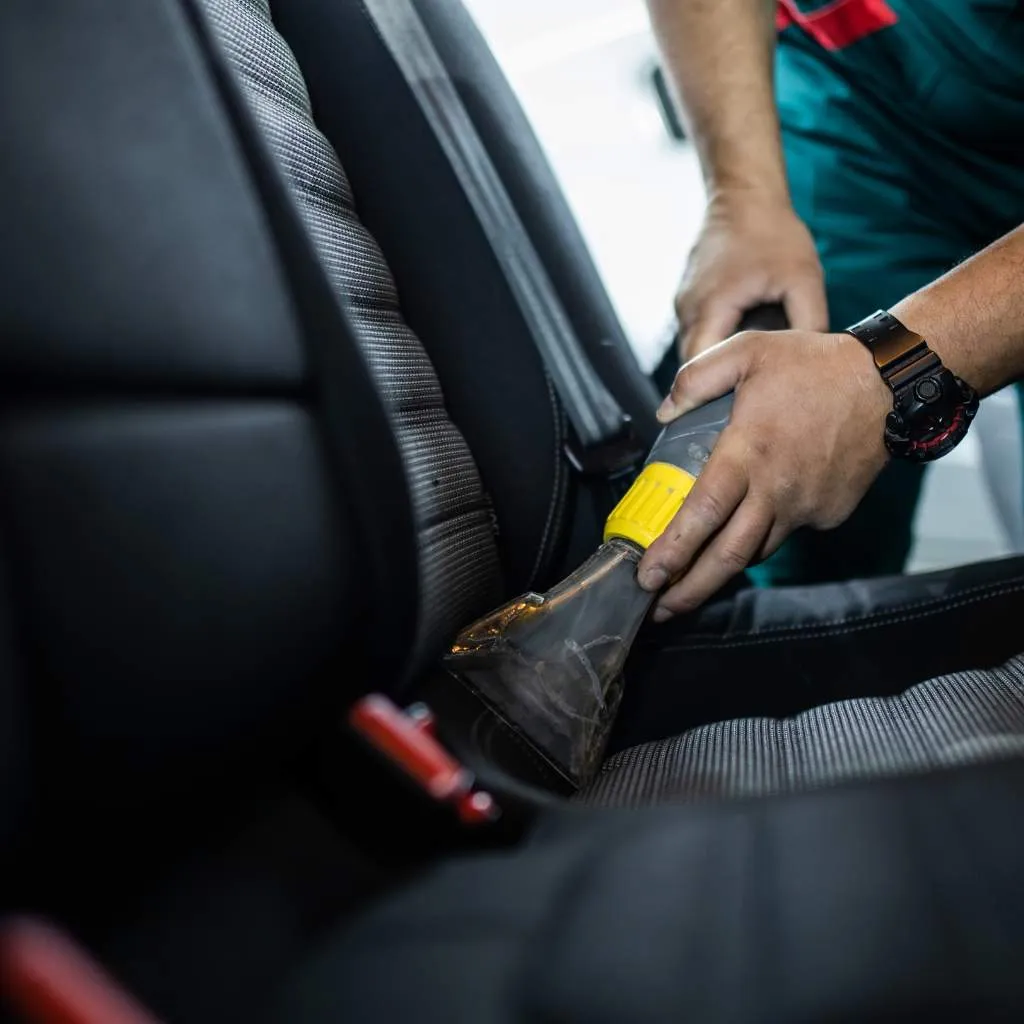
Step 2: Use a vacuum to clean the interior.
Vacuuming is the most important thing to perform. To get dirt out, stuck in between the seats, under floors, and in cracks, use a vacuum with a powerful suction and instruments that can fit into confined areas.
Start at the top of the car and work your way down to avoid re-contaminating already purified areas. Use the crevice tool to reach tight spots and the brush attachment for delicate surfaces.
To remove dirt that has become lodged in carpets and upholstery, use a brush attachment.
Work your way down from the top:
- Headliner (material for the roof)
- Dashboard and console
- The mats, footwells, and floor
Step 3: Wash the upholstery and seats.
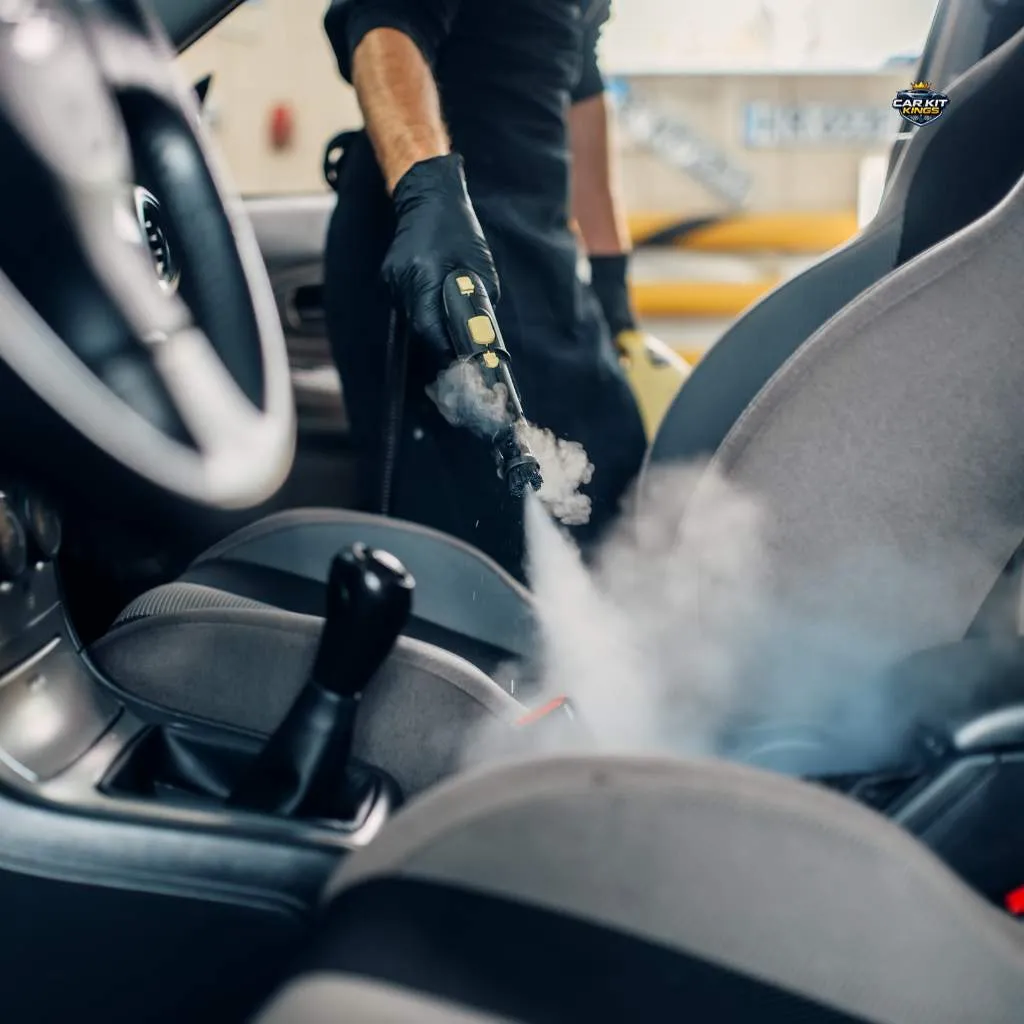
Wash the upholstery and seats using an interior-safe cleaning solution and microfiber towels. For fabric seats, use a sterile designed for carpets and fabric. For leather seats, use a leather conditioner and purifier.
You should focus on the seats according to their composition:
Fabric-based seats
- Apply a little mist of a textile-safe cleaning solution.
- To move the dirt about, use a soft brush.
- To absorb water and grime, use a fresh microfiber cloth.
- To remove dirt and body oils, use a specialized leather polish.
- Avoid soaking the leather; instead, gently wipe it.
- Use a conditioner after cleaning to prevent drying out and cracking. Using circular motions to massage it in improves its absorption.
Step 4: The console, dash, and hard surfaces
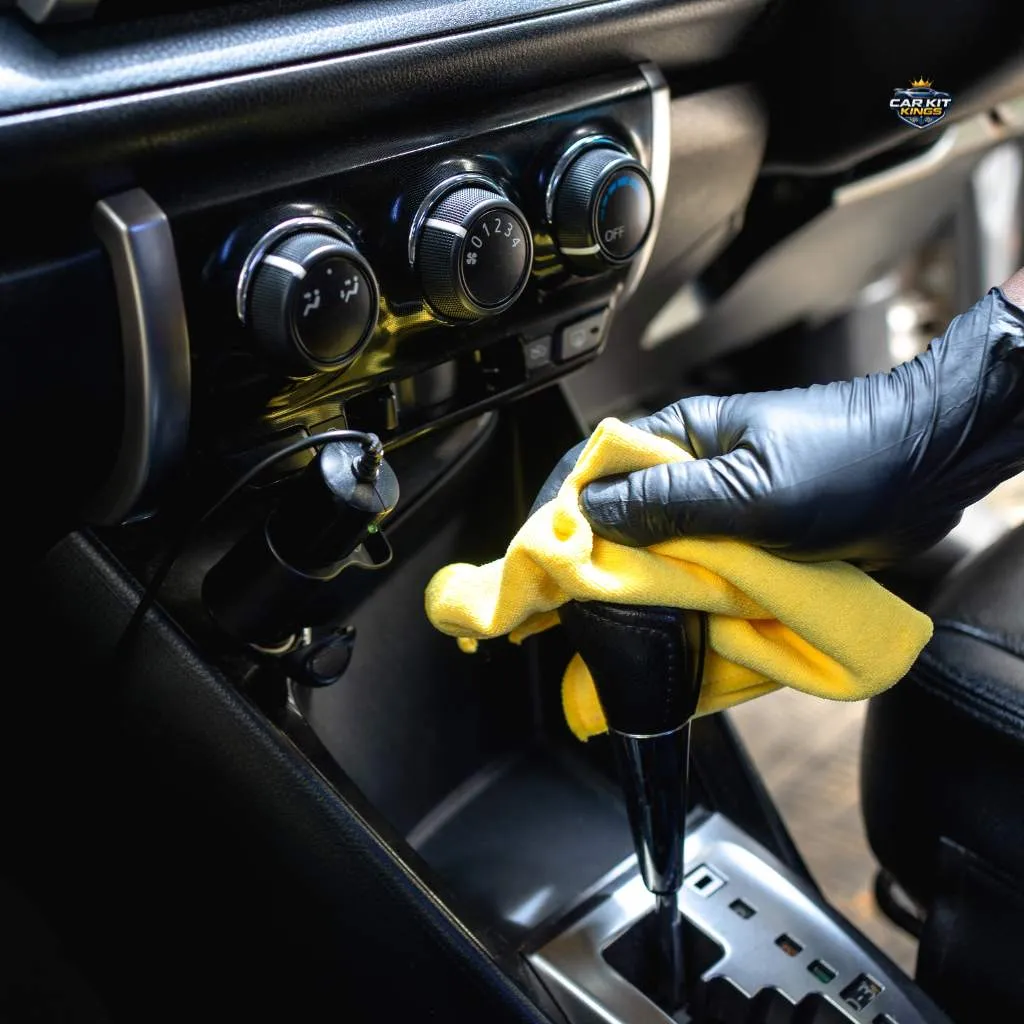
All of the non-fabric surfaces, including the dashboard, center console, door panels, and trim, should be polished with your interior cleaner.
To keep the surface from getting too wet, Use a spray bottle to immaculate the microfiber cloth instead of straight onto it. Clean everything, but pay extra attention to areas that people will touch a lot, like the steering wheel, gear shift, and door buttons.
Use a soft brush or a detailing tool to get into small crevices and around buttons
Spraying cleaner on your brush or microfiber first, rather than the surface right away, is a terrific suggestion. This prevents fluids from seeping into seams or electronics.
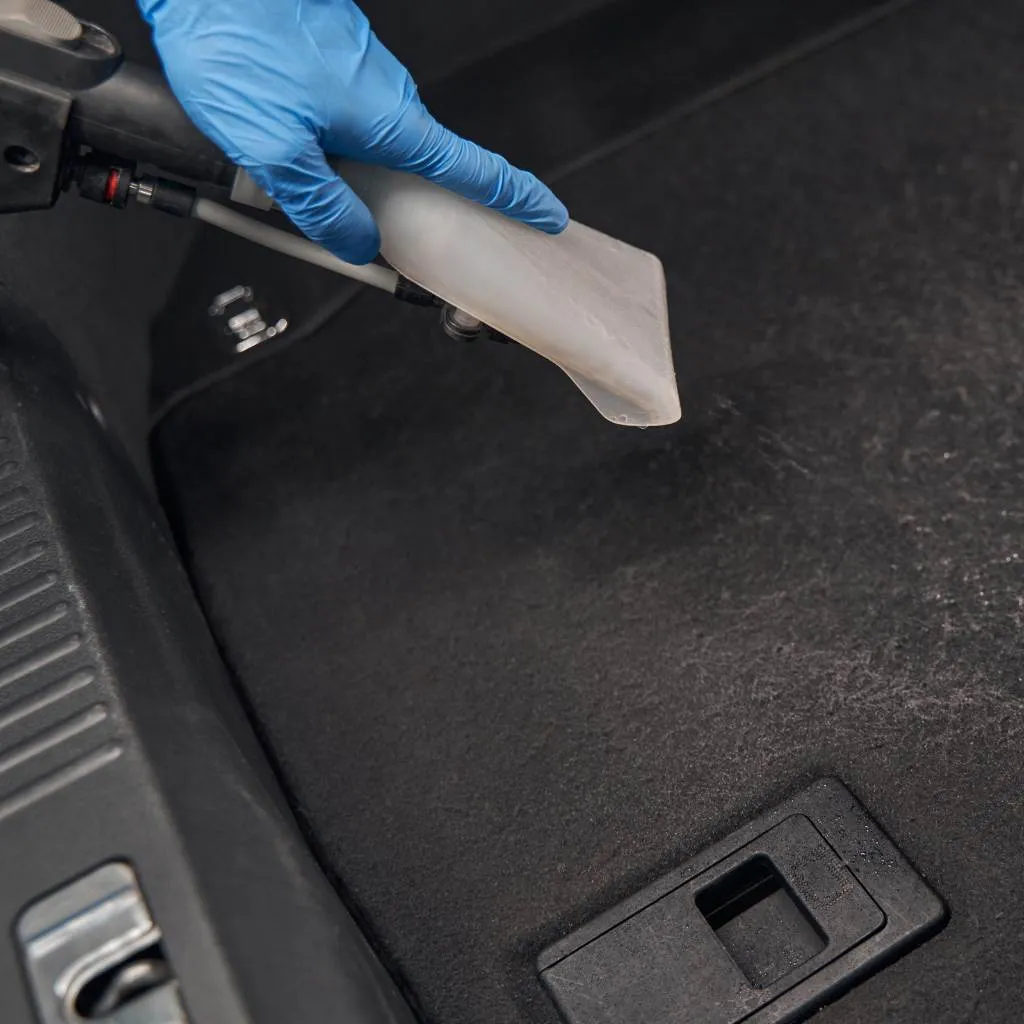
Step 5: Make sure the floor mats and carpets are clean.
Dirt usually sticks to carpets and floor mats the most. Take out the mats and give them a good vacuum. For more thorough spotless look:
- Use a carpet-safe cleaner spray.
- Use a brush to agitate
- Use towels to blot away extra wetness.
- Allow to fully dry before replacing the mats.
Step 6: Clear Mirrors and Glass
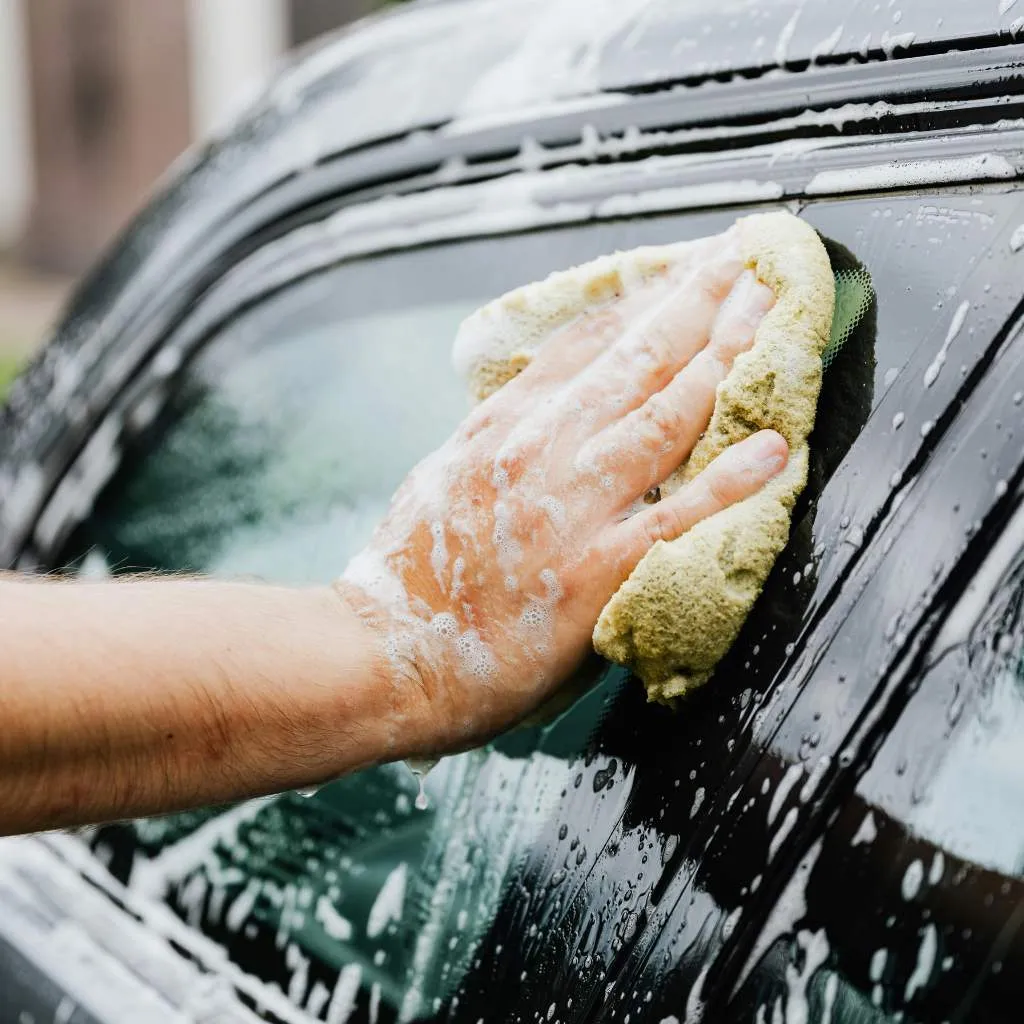
To prevent re-soiling from the previous stages, interior glass should be cleared at last. Wipe in an S-shape from top to bottom using a fresh microfiber and a streak-free glass cleaner. This guarantees clarity and gets rid of haze, fingerprints, and smudges.
Ammonia-based cleaners can harm tinted windows, so stay away from using them.
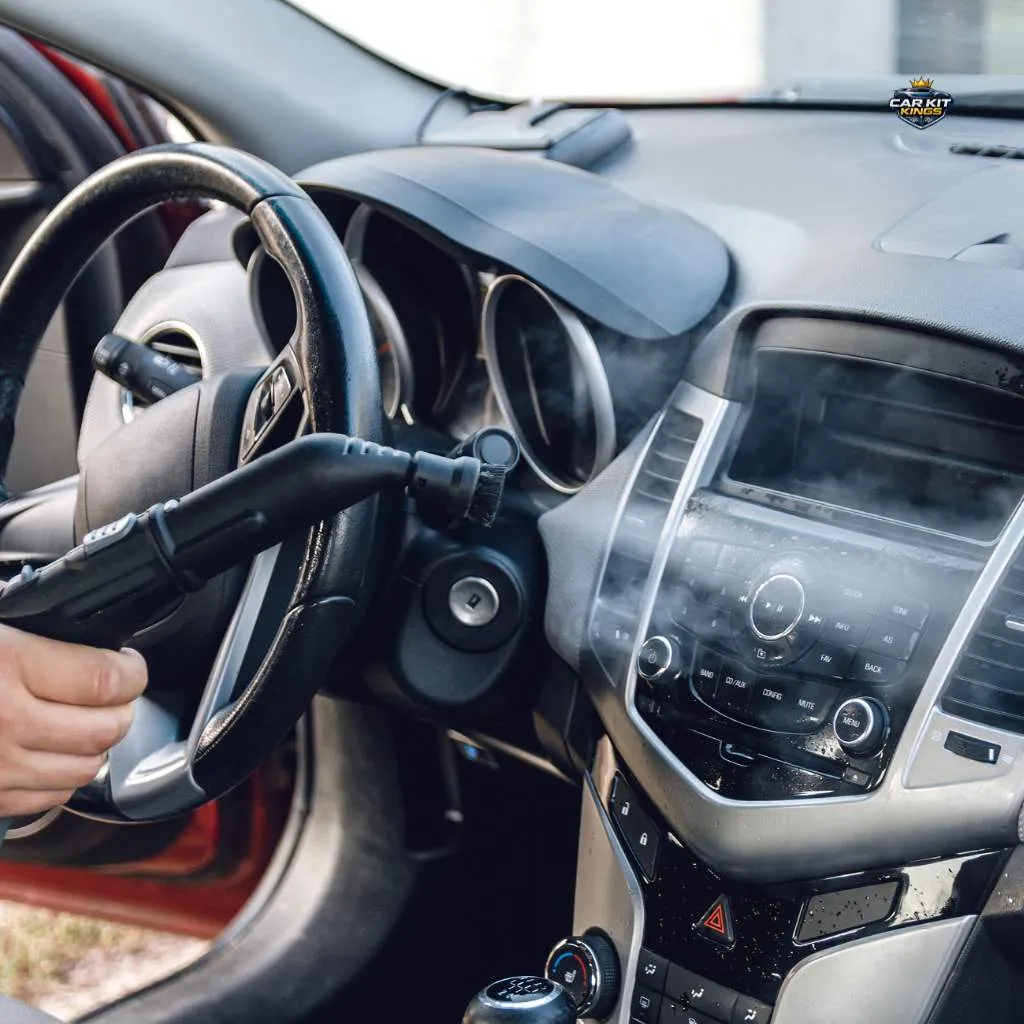
Step 7: Tight Gaps and Vents
Although they can be difficult to remove, dust and debris in vents and small spaces significantly improve overall neatness. Utilize:
- Brushes for detailing
- Compressed air
- Tools wrapped in microfiber
By doing this before wet cleaning, you can prevent dust from getting further into cracks.
Step 8: Deodorize and Final Touches
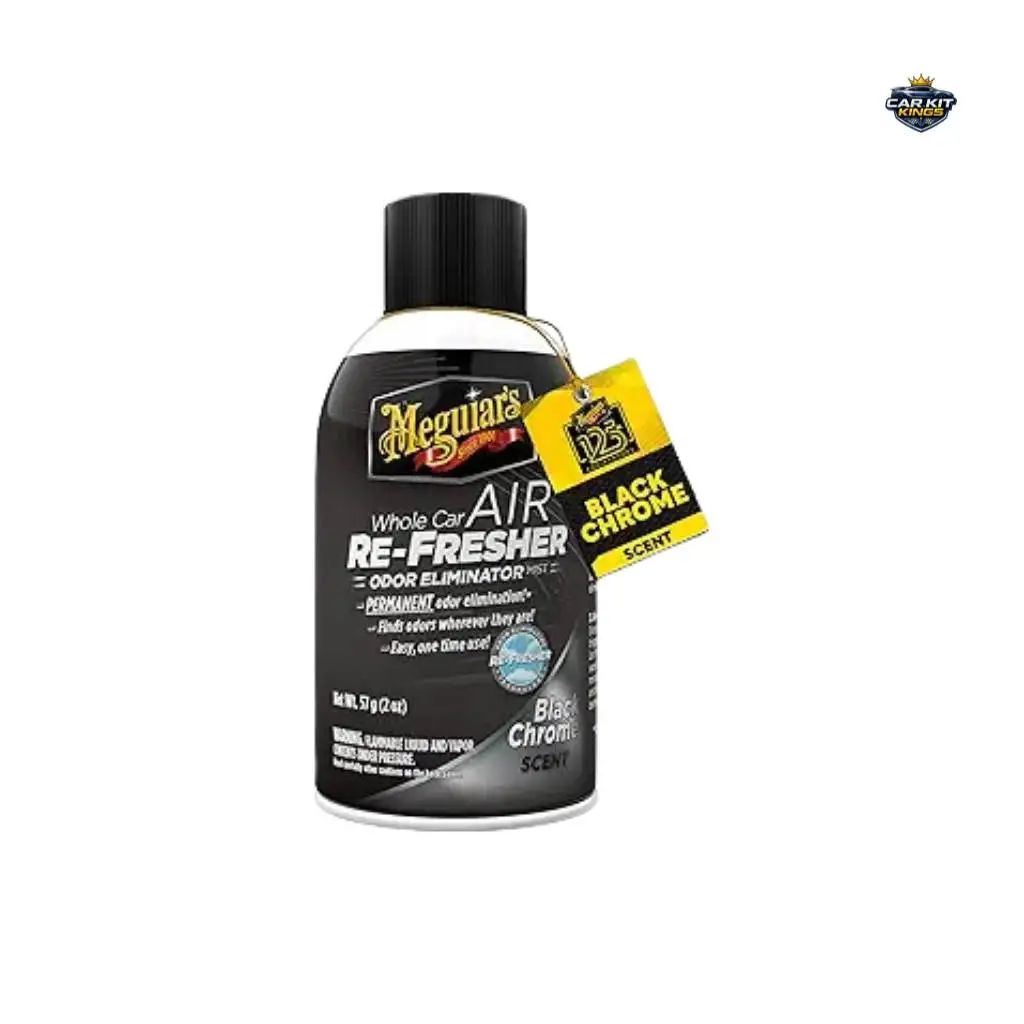
Even after doing deep purification, interiors can hold odors. Consider using an odor eliminator, allowing it to dwell according to instructions for better results.
A light interior detailer applied with a dry towel can add a neat look and protect plastic, vinyl, and rubber surfaces without being sticky.
Lastly, examine your work in a bright light, particularly in a shadowed region, to identify any locations you may have overlooked.
Pro Tips and Safety
Work in Moderate Environments
Avoid detailing in intense heat or direct sunlight as the products may smear or dry too soon.
Make Use of Superior Microfiber
Low-quality towels have the potential to leave lint or even harm delicate surfaces like shiny trim and touchscreens.
Avoid Using Household Cleaners
Products containing bleach or ammonia can harm upholstery, trims, and interior plastics. Always use car care products that are safe for the inside.
Take Your Time
The time required for a complete interior detail is commonly underestimated by do-it-yourself detailers.
Patience and meticulous attention to detail are necessary for real results; depending on the state of the vehicle, many interior elements can take hours.
How Often Should You Detail Your Interior?
Your cabin will stay in excellent condition with a complete interior detail every two to three months, especially if you travel every day, eat in your car, or frequently transport passengers or pets. Weekly fast wiping and light vacuuming are possible.
Conclusion
Detailing a car's interior doesn't have to be scary. You can turn a worn-out, dirty cabin into a neat, welcoming area with the correct procedures, equipment, and perseverance.
Pay attention to hidden areas like vents and seams, concentrate on thorough cleaning from top to bottom, and select equipment that enable you to get where standard cleaning cannot.
If you want to step up your efforts even more, don't forget to read our assessment of the best interior car cleaning products, which lists the best tools and cleansers for the job.